錫市蘭翔膠業(yè)有限公司")
請(qǐng)輸入網(wǎng)站標(biāo)題
清空記錄
歷史記錄
取消
清空記錄
歷史記錄


公司簡(jiǎn)介
無(wú)錫市蘭翔膠業(yè)有限公司,坐落于山清水秀,中國(guó)吳文化發(fā)源之地的無(wú)錫市,公司始創(chuàng)于公元1994年,是一家從事紡織器材研發(fā)和生產(chǎn)的綜合型企業(yè),下有無(wú)錫市蘭翔膠業(yè)有限公司、無(wú)錫蘭翔鋼領(lǐng)科技有限公司、無(wú)錫市蘭盾紡織器材有限公司、六安翔龍膠業(yè)有限公司、安徽蘭翔紡機(jī)科技有限公司等多家子公司。
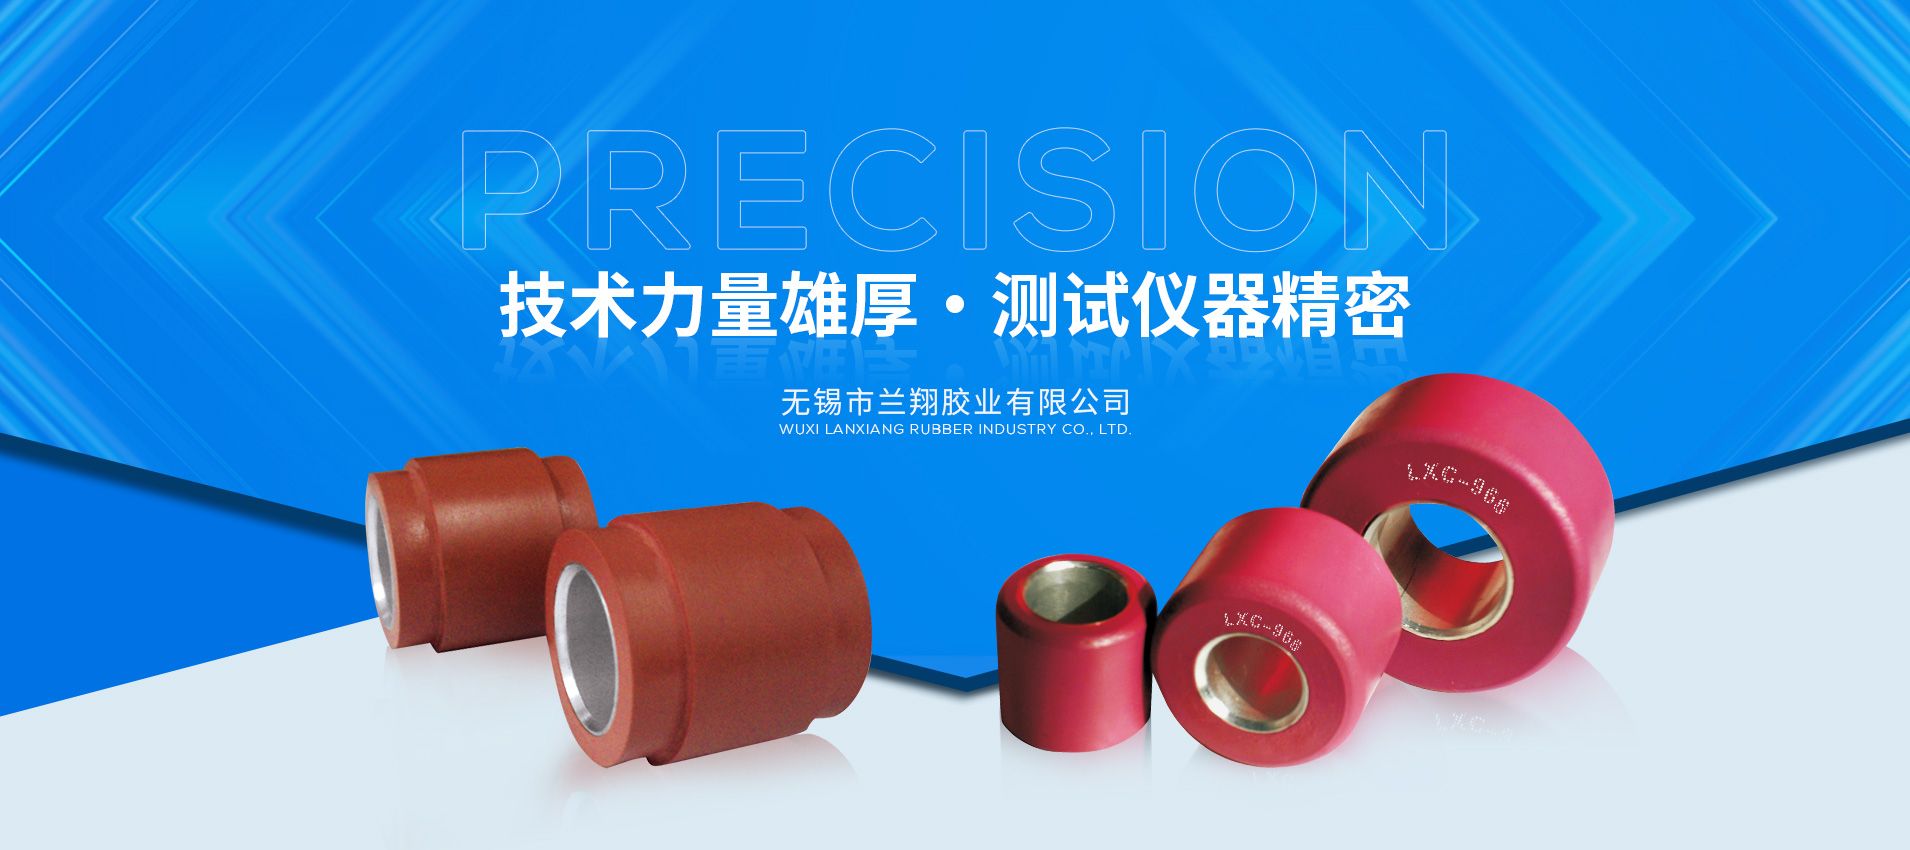
公司設(shè)立新產(chǎn)品研發(fā)中心,技術(shù)力量雄厚,測(cè)試儀器精密,監(jiān)測(cè)工藝完善,生產(chǎn)設(shè)備先進(jìn),采用現(xiàn)代化管理模式。主要生產(chǎn)紡紗用高端牽伸膠輥、膠圈、膠輥軸承、鋼領(lǐng)、網(wǎng)格圈,織造印染輥筒等紡織專(zhuān)用器材,致力于打造為紡織企業(yè)提供一站式服務(wù)的專(zhuān)業(yè)性生產(chǎn)型企業(yè)。
公司通過(guò)了ISO9001國(guó)際質(zhì)量體系認(rèn)證、14000環(huán)境管理體系認(rèn)證,2007年被中國(guó)企業(yè)發(fā)展監(jiān)督管理委員會(huì)、中國(guó)質(zhì)量管理體系中心確認(rèn)為“中國(guó)膠業(yè)十強(qiáng)”企業(yè)。近些年來(lái),新產(chǎn)品研發(fā)成果層出不窮,產(chǎn)品不斷推陳出新,多款新產(chǎn)品通過(guò)了紡織工業(yè)聯(lián)合會(huì)的科技鑒定,達(dá)到國(guó)際先進(jìn)水平,2019年有兩款新產(chǎn)品榮獲“紡織之光”中國(guó)紡織工業(yè)聯(lián)合會(huì)科技進(jìn)步二等獎(jiǎng)。
“永遠(yuǎn)為客戶(hù)提供最滿(mǎn)意的產(chǎn)品,讓客戶(hù)的需求在蘭翔成為現(xiàn)實(shí)”是蘭翔公司的宗旨和理念。
蘭翔產(chǎn)品暢銷(xiāo)全國(guó),并遠(yuǎn)銷(xiāo)東南亞、東北亞、美洲、非洲等地,受到了國(guó)內(nèi)外用戶(hù)的廣泛贊譽(yù)。
查看更多


一家從事紡織器材研發(fā)和生產(chǎn)的綜合型企業(yè)
技術(shù)力量雄厚,測(cè)試儀器精密
聯(lián)系我們
印刷行業(yè)革新的新力量")
查看更多
——
CONTACT

?——
ADDRESS
?——
SHARE
您有什么有興趣的地方,請(qǐng)及時(shí)和我們?nèi)〉寐?lián)系,我們可以為您定制適合您的方案,給您滿(mǎn)意的結(jié)果!
?2022 無(wú)錫市蘭翔膠業(yè)有限公司 版權(quán)所有
蘇ICP備2022023716號(hào)-1無(wú)錫膠板廠(chǎng)家-紡織牽伸配件-輥筒價(jià)格-膠輥批發(fā)-膠圈-無(wú)錫市蘭翔膠業(yè)有限公司

選擇區(qū)號(hào)